AutoVision 12V Dome Camera

R599,00

Enhance your vehicle’s visibility and safety with the AutoVision 12V Dome Camera. Engineered for both front and rear applications, this compact yet powerful camera delivers clear, wide-angle footage in all lighting conditions.

Add to Cart
AutoVision 12V Dome Camera
R599,00

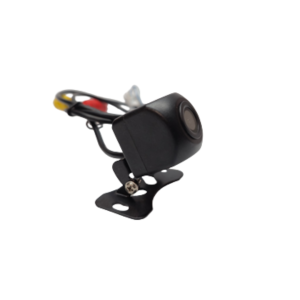
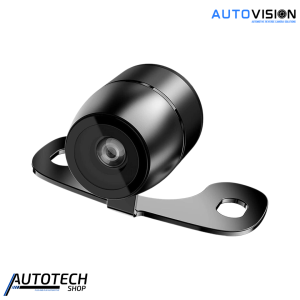
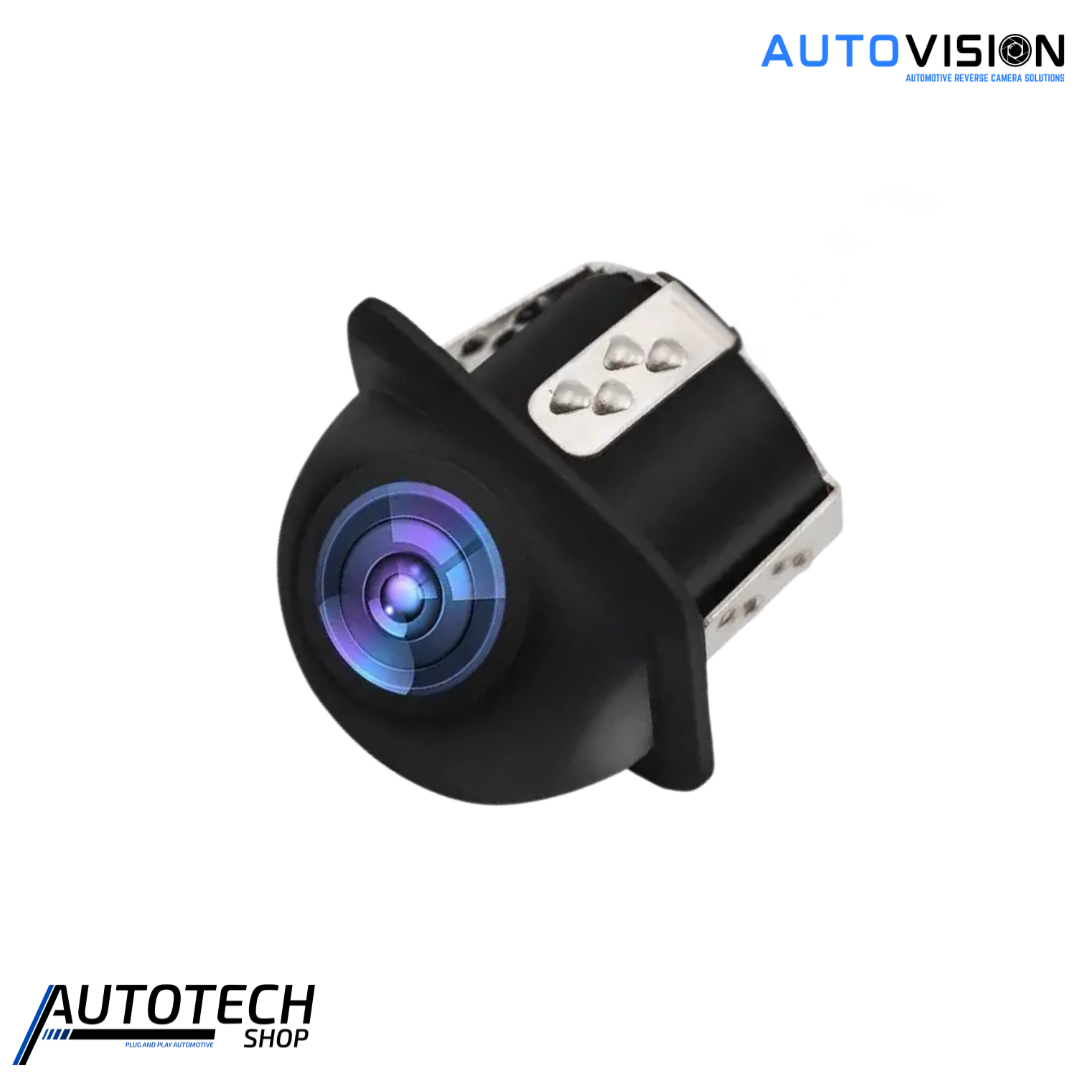
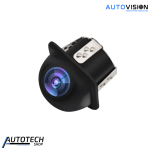
Upgrade your vehicle’s safety and situational awareness with the AutoVision 12V Dome Camera. Compact, durable, and versatile, this camera is designed for both front and rear mounting, delivering crystal-clear wide-angle footage to help you navigate tight spaces and improve overall driving confidence.

Key Features & Benefits:

  • High-Quality CCD Sensor – Captures sharp, reliable images in all lighting conditions.
  • Dual Video Format – Supports both PAL and NTSC, ensuring compatibility with a wide range of monitors and systems.
  • 480TVL Resolution – Provides clear, defined visuals for accurate monitoring.
  • Wide 170° Lens – Maximises coverage, reducing blind spots and giving you a better view of your surroundings.
  • Flexible RCA Output – Easy connection to any compatible display or monitor.
  • Rugged & WeatherproofIP68-rated, engineered to withstand temperatures from -30°C to 90°C, making it ideal for all weather conditions.
  • Versatile Mounting – Can be installed at the front or rear of your vehicle for maximum flexibility.

Whether you’re parking in tight urban streets, reversing in low-light conditions, or simply enhancing your vehicle’s security, the AutoVision 12V Dome Camera delivers a dependable, all-weather solution that keeps you safe and confident on the road.

Features

Installation Guide

⚠️ Important Safety Information

  • Disconnect your vehicle’s battery before starting installation.

  • Ensure wiring is secured and routed away from moving parts.

  • Avoid installing in areas where the camera may be damaged by debris or impact.

  • Professional installation is recommended if you are not confident with vehicle electronics.

Tools You May Need

  • Drill and bits (for mounting if necessary)

  • Screwdrivers (Phillips and flathead)

  • Wire stripper/crimper

  • Electrical tape or heat-shrink tubing

  • Cable ties

Installation Steps

1. Preparation

  1. Park your vehicle on a flat surface and engage the parking brake.

  2. Disconnect the negative battery terminal.

  3. Select a mounting location at the front or rear of the vehicle, ensuring the camera has a clear, unobstructed view.

2. Mount the Camera

  1. Use the included mounting hardware to attach the camera securely.

  2. Adjust the angle of the camera to optimise coverage, keeping blind spots in mind.

  3. If using optional on-screen guidelines, adjust orientation for correct display.

3. Connect Wiring

  1. Connect the camera’s RCA video output to a compatible display or monitor.

  2. Connect the 12V power input to a suitable vehicle power source (ignition-switched 12V recommended).

  3. Ensure all connections are secure and insulated with electrical tape or heat-shrink tubing.

  4. Route wires neatly and secure with cable ties to prevent interference with vehicle components.

4. Test & Use

  1. Reconnect the vehicle’s battery.

  2. Turn on the display to verify the camera feed is active.

  3. Check image quality, coverage, and IR functionality for night vision.

  4. Adjust the camera angle as needed for optimal monitoring.

Care & Maintenance

  • Clean the lens regularly with a soft cloth to maintain image clarity.

  • Avoid harsh chemicals or abrasive materials on the camera lens.

  • Periodically inspect wiring and mounting hardware for security and wear.